From Photographs to Painting the Landscape
Monday 4th August 2025 for 5 days — Cost: £325
Tutor: Jane Strother
Bookings for this course have now ended
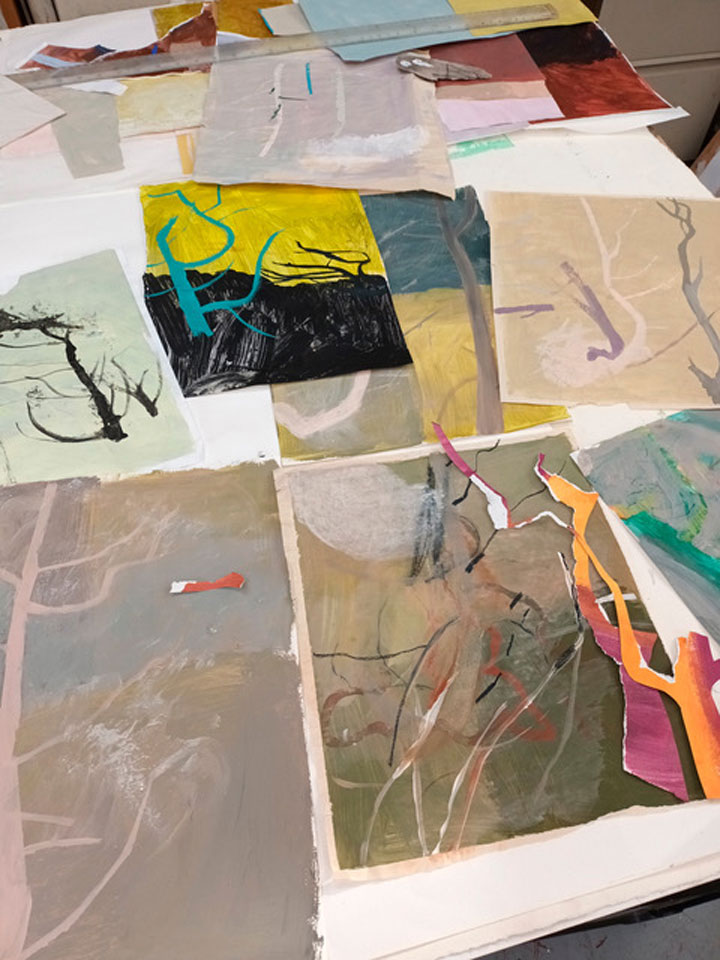
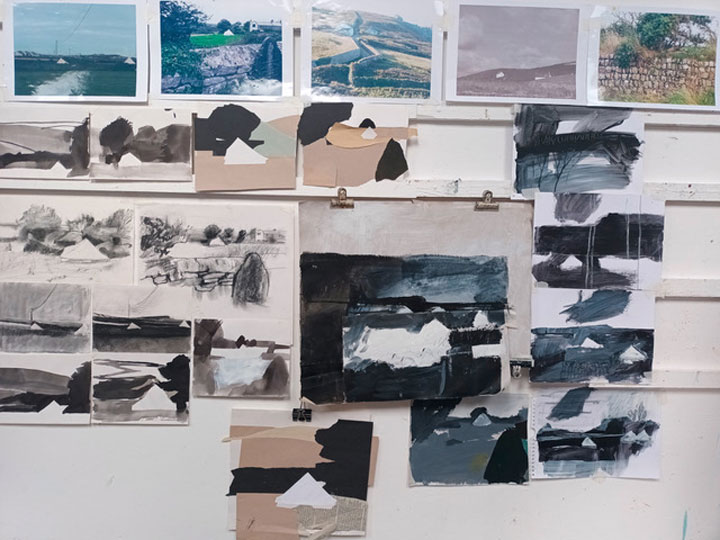
Many of us have the best intentions to fill a sketchbook with drawings and ideas, while on the move or on holiday but can end up with a couple of doodles and a lot of photos. This course is about using photography as an information gathering tool to inform our next steps towards a more abstract finished image.
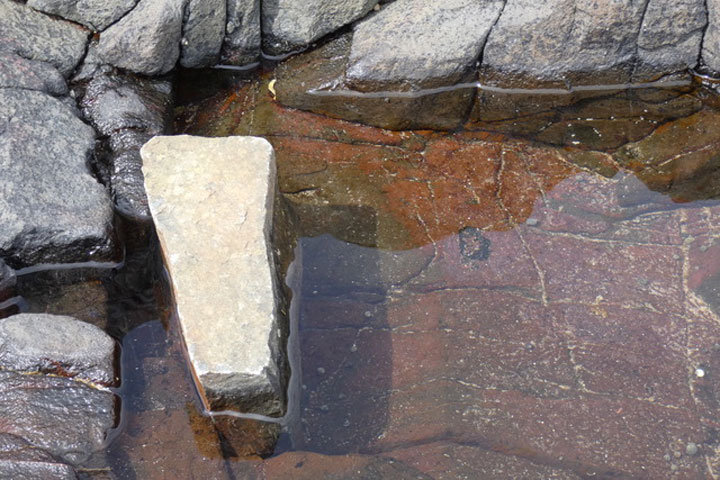
Think about your photos as your sketchbook, what do you need? Some views perhaps, that one over there and this one to the right..., how does that field slope? The ploughing pattern or the disappearing hedgerow might give you a clue. You will want some close-up studies to show how things are made or built or grow, buildings, foliage, single plants, fencing, paths, a sea wall, line of cliff.
These do not have to be beautiful constructed photographs, leave that to your painting! It is easier if they are not. They should document your chosen place or walk, remind you of being there, the weather, peace or drama…. Painting from photos directly can have a negative impact on your ability to think and work creatively. Extracting elements, fundamentals, details from them and drawing from these, is a way in to getting going with constructing that exciting piece of work which is more about your subject than a mere copy.
- Please look carefully at the preparation notes. You will need to have the photos printed and ready to start, so allow time for that. (This will not cost you much). During the week, you will follow instructions on making quick sketches in colour, choosing from and developing these to build a composition. Tuition on colour and composition will be part of the course.
Preparation
In the weeks or months before the course starts, I would like you to take as many photos as you can (40 or 50, see below) in a location that interests you, rural or urban. Take time to walk, explore and just be in that space, in different weathers and from differing viewpoints, foreground and further away, some with closer detail. Home in on points that interest you.
The location does not have to be static; a walking route would be fine or different viewpoints in a garden or park. You can use a landscape you can get to easily or your garden or park.
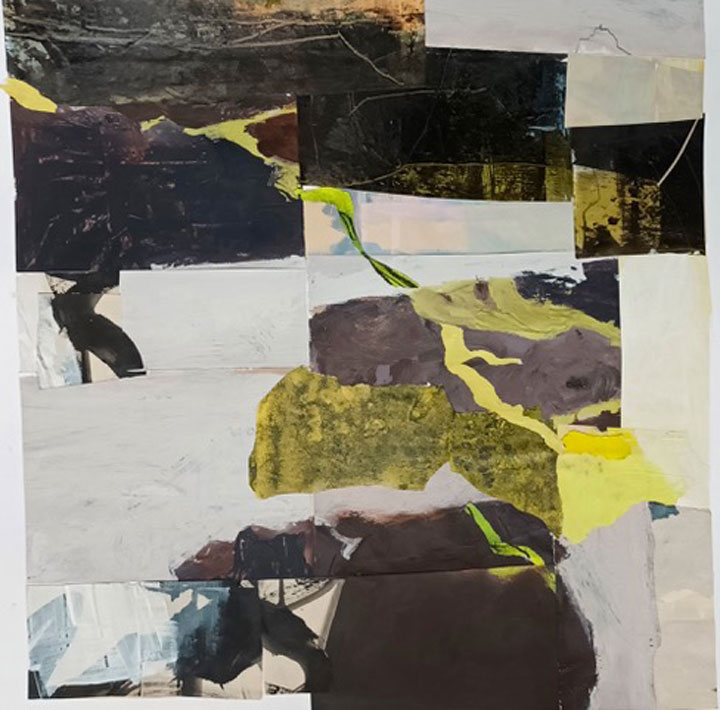
You will be using these to create a collage, using overlap rather than cutting so you might take several of that group of farm buildings, from slightly different angles, for example or the path winding its way round a field…
These photos need to be taken in time for you to have them printed using a free photo printing service.
I use
FreePrints,
but there are a number of other companies who allow you to print 40 or 50 x 4” x 6”photos directly
from your phone. They are free, apart from the postage.
The link is correct at the time of writing.
You might prefer to print your pictures in a high street shop which offers this service.
Make sure you allow enough time to have these prints ready for 4th August.
Materials
You will need a range of materials as you will be collaging, drawing and painting, cutting up, tracing, taping together. You do not necessarily need everything.
Drawing:
This is a list of all you might possibly want. You don’t need to have everything. The highlighted Items are the most necessary.
- Charcoal – compressed and willow, graphite stick, pencils, drawing inks, chalk pastels, oil pastels, pastel pencils, biro, fibre tipped pens
- Paper towel or rags, rubber – ideally not a putty one, twigs cut from garden to use with inks, dip pen
- Drawing board at least A2 if at all possible. Something smaller to lean on for moving around the room
- Drawing paper –medium weight paper, 120g A3
- A larger pad which can be cut down if necessary is useful. That way you can use sheets of differing scales and sizes. You’ll need plenty
- For a longer drawing and for painting and for your photo collage, 200g plus is nice to use, you’ll need A2 or larger
- Also, a sheaf of very light paper – printer paper is fine
- Masking tape, scissors, tracing paper
- Pritt stick or similar (later on you will need some glue to stick down collaged painted paper. The acrylic medium (see painting) is good for this or some pva white glue
Painting:
Acrylics are best or gouache but please do not bring watercolour for finished work. You can use this for sketching though.
Water soluble oils with water or vegetable oil to clean up, can be used but you MUST be in charge of your cleaning process. The sinks are not art room sinks and should be left clean at the end of the day. All excess paint whether acrylic or oil should be scraped into paper and put in the bin, not washed down the sink. (No solvents).
- Acrylic paints. The basic range requires the primary colours 2 x yellow, blue and red. For example:-
- Cadmium yellow, lemon yellow, Cyan blue or a blue turquoise, cobalt or ultramarine
- Crimson or magenta, cadmium red
- White
- Other ‘made up’ tubes of your choice which may include earth colours and one of two specific hues
- Acrylic medium matte or gloss basic medium
- Paper – Its best to have a large pad so you can cut smaller or use large. You will need the thin printer paper I have mentioned and also something that will do for both painting and drawing. You might like to work on a canvas or board later in the week or use a heavier paper. The quality and weight of paper is really not too crucial for the work you will be doing. It is nice to work on quality stuff but it can also be inhibiting!
In addition:
- Rubber
- craft knife or scissors
- pencil sharpener
- different sized brushes for painting
- glue
- masking tape
- water containers
- kitchen roll or blue roll for cleaning up
- palette, the larger and flatter the better (can be taped down plastic sheet or shiny paper)
- palette knifes
Optional:
- tracing paper
- Easel is good to have. I can lend 4 metal ones
- Large drawing board as large as possible. Piece of plywood? Bring if at all possible
- This might be for working on and for propping up with drawings stuck to it, for reference
